Creating a machine-embroidered Baby Yoda (also known as Grogu) T-shirt can be a fun and creative project. In our e-store, you can find several cute Baby Yoda machine embroidery designs to make your T-shirt unique. However here we collected the steps to have an amazing embroidery result with any design you may choose.
In this article you will find :
- Ultimate guide on how to make a perfect embroidery with your Baby Yoda machine embroidery design
- Best-selling Baby Yoda machine embroidery designs
Here are the general steps you can follow to make your baby Yoda machine embroidery design perfect :
1. Design Selection:
Find or create a Baby Yoda machine embroidery design that you want to embroider on your T-shirt. You can search online for free or paid embroidery designs, or create your own using design software.
2. Gathering Materials:
Make sure you have all the necessary materials, including:
– T-shirt: Choose a plain T-shirt in a color of your preference.
– Machine: Have access to an embroidery machine that can handle the size and complexity of the design.
– Embroidery thread: Select thread colors that match your design and T-shirt.
– Stabilizer: Choose an appropriate stabilizer for your fabric. Cut it slightly larger than the hoop size.
– Hoop: Get an embroidery hoop that fits your design and T-shirt comfortably.
3. Preparing the T-shirt:
Wash and dry the T-shirt to remove any residues or shrinkage. Iron it to ensure a smooth surface for embroidery.
4. Hooping:
Place the T-shirt on a flat surface and position the stabilizer underneath the area where you want to embroider. Slide the inner hoop underneath the T-shirt and stabilizer, aligning the design area within the hoop. Secure the outer hoop over the top, tightening it to hold everything in place.
5. Thread Setup:
Load the desired thread colors onto the embroidery machine’s thread spools. Follow the machine’s instructions for threading the machine correctly.
6. Transfer the Baby Yoda machine embroidery design:
Connect the embroidery machine to your computer and transfer the Baby Yoda design. Ensure that the design is correctly positioned and scaled according to your preferences.
7. Machine Setup:
Set up the embroidery machine according to the design’s requirements. This may include selecting the correct needle, adjusting the tension, and setting the machine speed.
8. Test Run:
Perform a test run on a scrap fabric or a similar material to verify that the design will embroider correctly. Make any necessary adjustments to the machine settings if needed.
9. Embroidery:
Once you’re confident with the settings, begin the embroidery process. Let the machine work its magic, ensuring that the T-shirt remains flat and taut within the hoop. Monitor the embroidery process to catch any issues that may arise.
10. Finishing:
Once the embroidery is complete, remove the T-shirt from the hoop and carefully trim any excess stabilizer from the back. Give the T-shirt a final press with an iron to flatten the embroidered area and set the stitches.
.Enjoy! Put on your newly embroidered Baby Yoda T-shirt and proudly display your creation!
Remember to follow the specific instructions provided by your embroidery machine’s manufacturer and refer to the user manual if you encounter any difficulties.
Here you may find some of best selling Baby Yoda machine embroidery designs
-
 Supreme Baby Yoda logo machine embroidery designsEUR 3.50
 -
 Nike Baby Yoda logo machine embroidery design files instant downloadPrice range: EUR 3.50 through EUR 20.00
 -
 Gucci Baby Yoda logo machine embroidery design files instant downloadPrice range: EUR 3.50 through EUR 20.00
 -
 Peace Love Baby Yoda machine embroidery design files instant downloadsPrice range: EUR 3.50 through EUR 20.00
 -
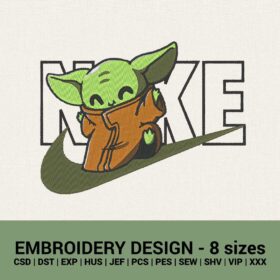 Nike Baby Yoda logo machine embroidery design files – instant downloadsPrice range: EUR 3.90 through EUR 25.00
 -
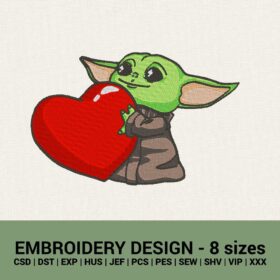 Baby Yoda Valentines heart machine embroidery designs instant downloadsPrice range: EUR 3.50 through EUR 20.00
 -
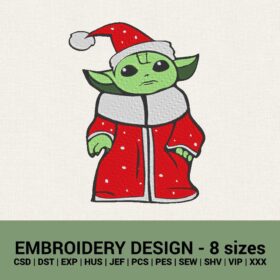 Baby Yoda Santa Christmas machine embroidery designs instant downloadsPrice range: EUR 3.50 through EUR 20.00
 -
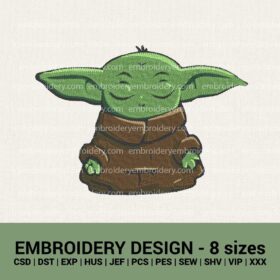 Baby Yoda meditating machine embroidery designs instant downloadsPrice range: EUR 3.00 through EUR 18.00