One of the most common questions our beginner customers used to ask is how to upload the embroidery files they buy on our e-store to their embroidery machines.
In this post, I would make a clear guide on how to upload embroidery files to the embroidery machine.
To upload embroidery files to an embroidery machine, follow these easy 5 steps:
- Buy the design and size you like to embroider. After checkout, download the embroidery files on your computer and unzip the archive folder.
- Connect the embroidery machine: Ensure that your embroidery machine is connected to your computer or has a compatible method for file transfer. This can be done through USB, a memory card, or a direct network connection, depending on the machine model.
- Transfer the embroidery files: Use the appropriate method to transfer the design file to the embroidery machine. Here are a few common methods:
- USB transfer: Insert a USB flash drive into your computer and copy the embroidery files onto it. Then, safely eject the USB drive from your computer and insert it into the USB port on the embroidery machine. Navigate the machine’s menu to locate and import the design file from the USB drive.
- Memory card transfer: If your embroidery machine uses memory cards, transfer the embroidery files onto the card using a card reader connected to your computer. Insert the memory card into the embroidery machine and navigate the machine’s menu to import the design from the card.
- Network transfer: Some embroidery machines allow you to connect to them directly over a network. Follow the machine’s instructions to set up the network connection, and then transfer the embroidery files from your computer to the machine over the network.
- Load the design: Once the design file is transferred to the embroidery machine, use the machine’s controls or touchscreen interface to navigate to the file. Select the design you want to embroider and ensure that all settings (such as thread colors, size, and positioning) are correctly configured.
- Secure the fabric: Prepare your fabric or garment and secure it tightly in the embroidery hoop or frame. Make sure it is properly aligned and centered for accurate embroidery.
- Start the embroidery: Once everything is set up, start the embroidery process on the machine. The machine will follow the instructions in the design file and begin stitching the pattern onto the fabric. Monitor the progress and make any necessary adjustments or thread changes as required.
Remember to consult the user manual for your specific embroidery machine model for detailed instructions, as the process may vary slightly between different machines.
What are the most popular embroidery files?
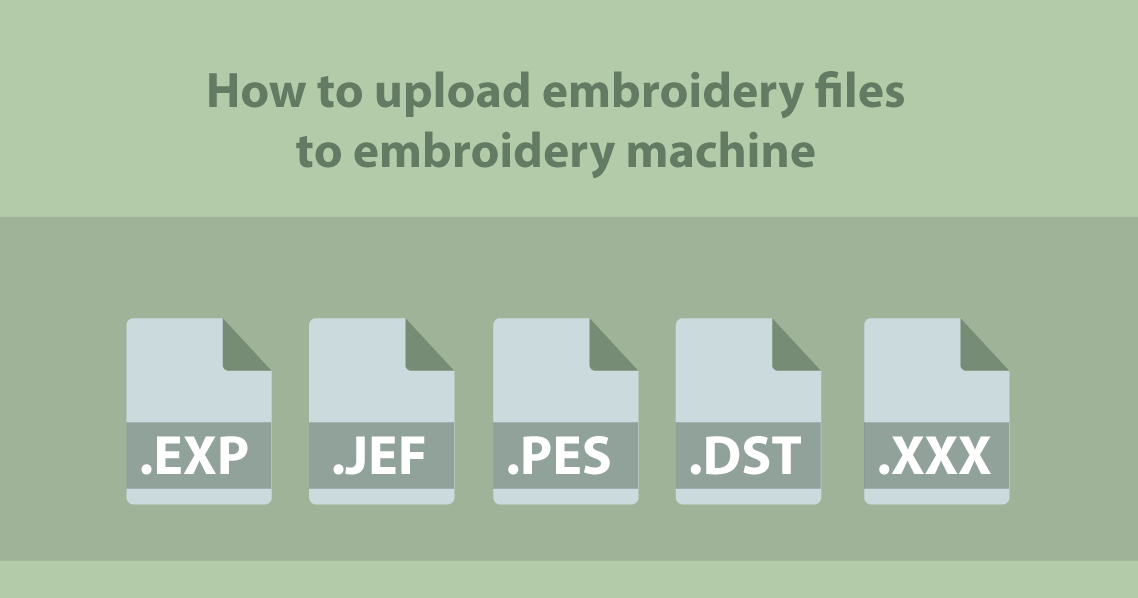
The most popular embroidery file types used for embroidery machines are:
- .DST (Tajima Embroidery Format): This is a common format used by Tajima embroidery machines and is widely supported by many embroidery software and machines.
- .PES (Brother Embroidery Format): This format is specific to Brother embroidery machines and is widely used. It supports various features like color changes, stitch types, and design properties.
- .EXP (Melco Embroidery Format): This format is commonly used by Melco embroidery machines and is supported by a range of software programs.
- .JEF (Janome Embroidery Format): Janome embroidery machines primarily use this format. It is also compatible with other software and machines.
- .XXX (Compucon Embroidery Format): This format is associated with the Compucon embroidery system and is used by machines that support this system.
These file formats are widely recognized and supported by most embroidery machines and software. However, it’s always important to check the specific file format requirements of your embroidery machine to ensure compatibility. Additionally, some modern embroidery machines are capable of reading multiple file formats, providing more flexibility in design selection.