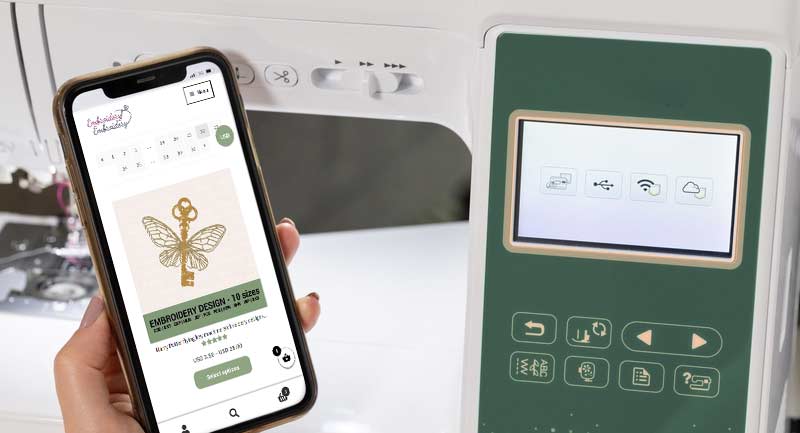
Ok, you got an embroidery machine – what comes next? – The main question any embroidery machine owner might be curious about is where to get suitable machine embroidery files, to use on your embroidery machine.
Here I collected some good practices to get machine embroidery files. If you have in mind some design you would like to embroider it might be useful to know the places where you can get the machine embroidery designs suitable for your machine.
In this post, I will write Several topics about how to get the designs for your machine:
- What filetype to choose
- Where to get ready-made files
- How to create your own files
- Best-selling machine embroidery designs in our store
What machine embroidery files to choose for your embroidery machine?
Embroidery machines typically support specific file formats that are compatible with their software. The most common machine embroidery files formats include:
- DST (Tajima Format): DST is one of the most widely used embroidery file formats. It is compatible with various embroidery machines and software. DST files contain the stitch data and design information necessary for the machine to embroider the design.
- PES (Brother Format): PES is the native file format for Brother embroidery machines. It contains stitch and color information and is widely supported by Brother’s embroidery software.
- EXP (Melco Format): EXP is the file format used by Melco embroidery machines. It contains the stitch data and design information needed for Melco machines to embroider the design.
- JEF (Janome Format): JEF is the native file format for Janome embroidery machines. It stores stitch and color information and is compatible with Janome’s embroidery software.
- VP3 (Viking/Pfaff Format): VP3 is the file format used by Husqvarna Viking and Pfaff embroidery machines. It contains stitch and color data and is compatible with their respective embroidery software.
- HUS (Husqvarna Format): HUS is another file format used by Husqvarna Viking embroidery machines. It stores stitch and color information and is supported by Husqvarna’s embroidery software.
- XXX (Compucon Format): XXX is the file format used by Compucon embroidery machines. It contains stitch data and design information for Compucon machines.
These are just a few examples of common embroidery file formats. However, it’s important to note that different embroidery machine brands and models may have specific file format requirements. It’s always best to refer to your embroidery machine’s user manual or consult the manufacturer’s guidelines to determine the compatible file formats for your specific machine.
Where to get ready-made machine embroidery files?
There are several places where you can find machine embroidery files. Here are some popular options:
- Embroidery Design Websites: Websites as embroideryembroidery.com that specialize in providing a wide range of machine embroidery designs are a great place to start.
- Online Marketplaces: Online marketplaces often have a vast collection of embroidery designs created by independent designers. You can browse and purchase designs from these platforms.
- Digitizing Services: If you have a specific design in mind or a custom logo that you want to turn into an embroidery file, you can use digitizing services. There we will convert your artwork into an embroidery file format.
- Online Communities and Forums: Online communities and forums dedicated to machine embroidery often have sections where members share embroidery files for free or at a minimal cost. Joining these communities can provide access to a variety of designs.
Or you can create machine embroidery files by yourself
How to create machine embroidery files by yourself?
Creating machine embroidery files involves a process called digitizing, which converts a design or artwork into a format that can be stitched by an embroidery machine. Here are the general steps involved in creating an embroidery file:
1. Design Creation or Selection: Start by creating or selecting the design or artwork you want to embroider. This can be a logo, a drawing, or any other image you want to stitch.
2. Digitizing Software: You will need digitizing software to convert the design into an embroidery file format.
3. Import or Create the Design: In the digitizing software, you can draw the design using the software’s drawing tools.
4. Define Stitch Types and Parameters: Once the design is created, you need to define the stitch types and parameters. This includes specifying the type of stitches (such as satin stitch, fill stitch or running stitch), stitch densities, stitch directions, and any special effects like appliqué or sequins.
5. Assign Colors and Threads: Choose the colors you want to use in the design and assign them to the corresponding parts of the design. You can either select the colors from the software’s built-in thread library or create custom color palettes.
6. Adjustments and Fine-Tuning: Make any necessary adjustments to the design, such as resizing, repositioning elements, or adjusting stitch parameters, to ensure optimal results when stitched.
7. Save the Embroidery File: Once you are satisfied with the design and settings, save the file in the appropriate embroidery file format supported by your embroidery machine. Common embroidery file formats include DST, PES, EXP, and others.
It’s important to note that digitizing is a skill that requires practice and experience to master. If you’re new to digitizing, you may find it helpful to take online classes, watch tutorials, or seek guidance from experienced embroiderers to improve your skills. Or you can always use our digitizing service to create the design of your mind.
Ready to take a look at the best machine embroidery designs?
Here you can find some best-selling machine embroidery files available in multiple file types that will suit almost any embroidery machine.
-
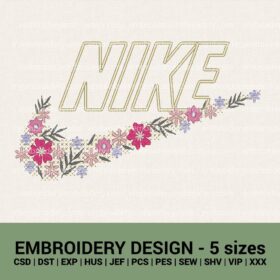
 Nike floral logo machine embroidery design | nike flower logo embroidery filesUSD 3.50 – USD 15.00
 -
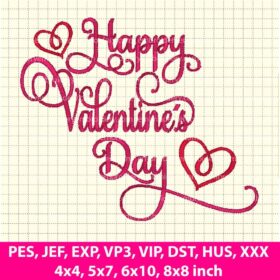
 Free Happy Valentine’s Day Embroidery DesignUSD 0.00
 -
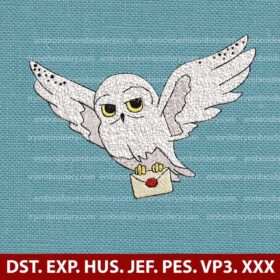
 Harry Potter Inspired Snowy Owl Embroidery Design – Instant DownloadUSD 3.50 – USD 20.00
 -
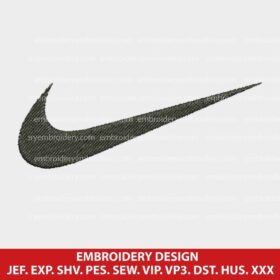
 Nike embroidery design | Nike Embroidery designs | Nike Machine embroidery designsUSD 3.00 – USD 39.00
 -
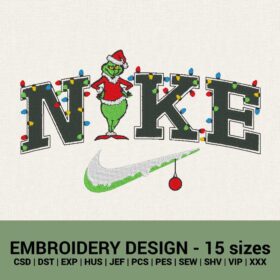
 Nike logo Grinch X-mas machine embroidery designsUSD 3.90 – USD 30.00
 -
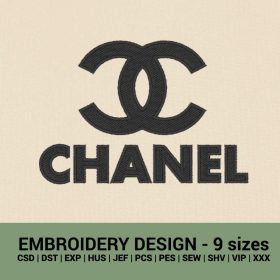
 Chanel Logo Machine Embroidery design | Chanel Machine Embroidery designUSD 3.50 – USD 25.00
 -
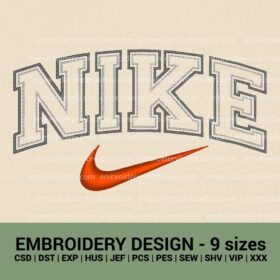
 Nike Logo Machine Embroidery design | Nike Embroidery designs | Nike logo embroidery filesUSD 3.50 – USD 25.00
 -
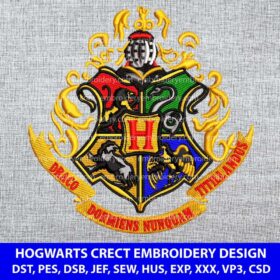
 Hogwarts Crest Logo Machine Embroidery Design | Harry Potter Embroidery Design | Wizard Embroidery DesignUSD 3.90
 -
 Hufflepuff Crest Embroidery Design Harry PotterUSD 3.90
 -
 Louis Vuitton Embroidery Designs | Louis Vuitton Machine Embroidery files | Louis Vuitton Logo EmbroideryUSD 3.50 – USD 28.00

