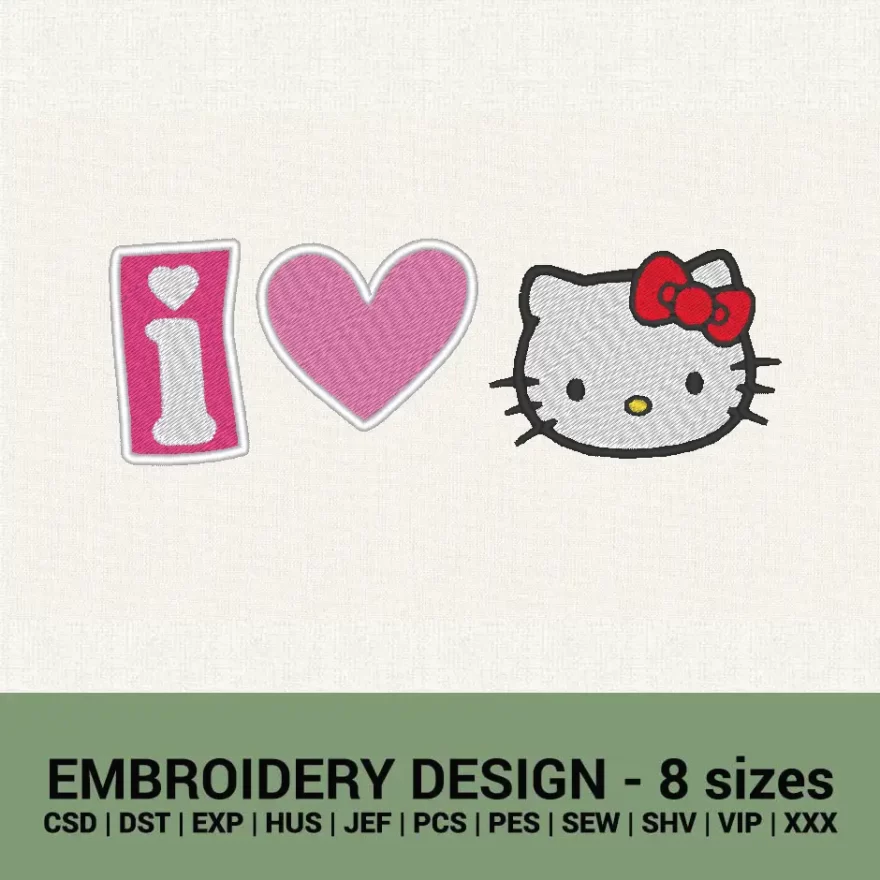
Description
I love Hello Kitty machine embroidery design
- It’s an instant download – the file will be ready to download after purchase.
- It’s a filled design with some satin-stitch parts
- You will get a ZIP archive with all files and a color sheet
Tips to have amazing results in embroidering the
I love Hello Kitty machine embroidery design
Embroidering the I love Hello Kitty machine embroidery design can be a delightful project! Here are some tips to help you achieve amazing results:
- Quality Materials: Start with good-quality embroidery materials, including the I love Hello Kitty machine embroidery design, the fabric, stabilizer, threads, and needles. Choose a fabric that’s suitable for embroidery and matches the design’s size and complexity.
- Proper Stabilization: Proper stabilization is crucial for achieving clean and crisp embroidery of I love Hello Kitty machine embroidery design. Use the appropriate stabilizer for your fabric to prevent puckering or distortion.
- Thread Selection: Select thread colors that closely match the design’s original colors. Use high-quality embroidery threads that won’t fray or break easily during the stitching process.
- Hooping Technique: Hoop the fabric and stabilizer firmly, ensuring they’re taut but not stretched. Make sure the fabric is smooth and free from wrinkles to avoid distortions in the I love Hello Kitty machine embroidery design.
- Test Stitch: Before embroidering on your final project of I love Hello Kitty machine embroidery design, do a test stitch on a scrap piece of fabric to ensure the design’s size, placement, and thread tensions are correct.
- Thread Tension: Check and adjust the thread tension according to your embroidery machine’s manual. Proper tension ensures smooth and even stitching.
- Machine Settings: Set your embroidery machine to the appropriate speed and stitch settings for the I love Hello Kitty machine embroidery design. Follow the manufacturer’s recommendations for optimal results.
- Monitor the Process: Keep an eye on the embroidery process to catch any issues early, such as thread breaks or skipped stitches. Pause the machine if necessary to address any problems.
- Trim Threads: Trim any jump threads between color changes to keep the back of the embroidery I love Hello Kitty machine embroidery design neat and tidy.
- Finishing Touches: Once the embroidery is complete, remove the fabric from the hoop carefully. Trim any excess stabilizer and press the embroidery from the backside using a pressing cloth to flatten any remaining stabilizer residue.
- Practice Patience: Embroidery can be a meticulous process, so take your time and be patient. Rushing can lead to mistakes or uneven stitching.
- Enjoy the Process: Most importantly, enjoy the process of creating your I love Hello Kitty machine embroidery design! Let your creativity shine, and don’t be afraid to experiment with different techniques or embellishments to make the design your own.


Merina –
Perfect quality!
Miranda –
Good file, easy to stitch
Sarah –
Good files
Priscilla –
Great Files!
Beatrice –
Perfect design
Victoria –
Good files will buy some more