

Best Seller
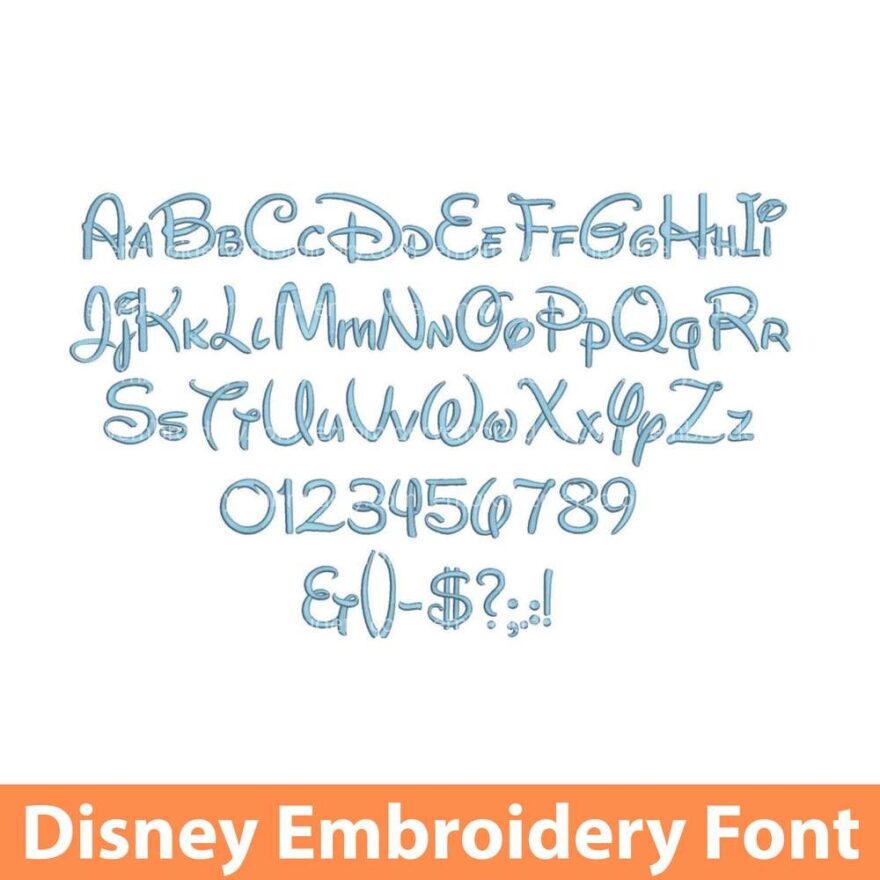
Disney Embroidery Font download
USD 20.00
Disney font embroidery design instant download
Available in the following sizes:
0.25, 0.5, 1, 1.5, 2, 2.5, 3, 3.5, 4, 4.5, 5, 5.5, 6, 6.5, and 7 inches
Satin Stitches (please note that on large areas satin stitches will be split into 2 or more rows of satin stitches)
Description
Disney Embroidery font download
- It’s an instant download – the file will be available for download right after purchase.
- It’s a satin-stitch design
- You will get a ZIP archive with all files and a color sheet
Embroidering the Disney font embroidery design can be a charming and magical project. Here are some tips to ensure you achieve excellent results:
- Quality Materials: Use high-quality embroidery materials, including Disney font embroidery design, fabric, stabilizer, threads, and needles. Choose a fabric that complements the design and is suitable for embroidery, such as cotton or a cotton-blend.
- Appropriate Stabilizer: Use a stabilizer suitable for your fabric to prevent puckering and distortion of Disney font embroidery design. A medium-weight tear-away or cut-away stabilizer is often effective for fonts, especially if the fabric is stretchy or delicate.
- Thread Selection: Select high-quality embroidery threads that match the colors in your Disney font embroidery design. Using threads with a good sheen can enhance the overall appearance and durability of the embroidery.
- Needle Choice: Use a sharp embroidery needle appropriate for your fabric type. Generally, a size 75/11 or 80/12 needle works well for most embroidery projects involving fonts.
- Hooping Technique: Hoop the fabric and stabilizer together tightly, ensuring they are taut but not overly stretched. Proper hooping prevents movement during stitching and keeps the design aligned.
- Test Stitch: Perform a test stitch on a scrap piece of fabric similar to your final project to check the design’s size, placement, and thread tensions. This step helps identify and fix any issues before starting on the final piece.
- Machine Settings: Set your embroidery machine to the appropriate speed and stitch settings for theDisney font embroidery design. Slowing down the machine slightly can improve accuracy and reduce the likelihood of thread breaks, especially for intricate font details.
- Thread Tension: Adjust the thread tension according to your machine’s manual. Proper tension ensures smooth and even stitching without puckering or looping.
- Monitor the Process: Keep an eye on the embroidery process to catch any issues early, such as thread breaks or skipped stitches. Pause the machine if necessary to address problems immediately.
- Trim Threads: Trim any jump threads between letters or sections immediately to keep the design clean and professional-looking.
- Finishing Touches: Once the embroidery is complete, carefully remove the fabric from the hoop. Trim any excess stabilizer and gently press the embroidery from the backside using a pressing cloth to avoid flattening the stitches.
- Use a Template: If possible, print a template of the Disney font embroidery design to help with precise placement on the fabric. This ensures the design is centered and positioned correctly.
- Attention to Detail: Pay close attention to small details in the font, especially if it includes intricate elements or swirls. Ensure that each part of the design is stitched accurately and clearly.
- Practice Patience: Embroidery is a detailed and meticulous craft. Take your time with each step to ensure the best results.
- Enjoy the Process: Embroidery is a creative and enjoyable activity. Enjoy the process of bringing the Disney font design to life with each stitch.
By following these tips, you can create a beautifully embroidered Disney font embroidery design that reflects quality and attention to detail, capturing the magic and charm associated with Disney.
Reviews (115)
Beautifully done and carefully packaged.
It feels so personal and well-made.
Fantastic detail and a lovely design.
They give a personal touch to everything.
Each design is a tiny work of art.
Got so many compliments on this one!
So happy with how this turned out
Love how easy it was to use
Worked great on my Brother machine.
Stitched out better than expected.
Lovely layout and perfect for decor items.
Definitely exceeded my expectations
Superb craftsmanship and precision
This shop has become my go-to for embroidery.
No gaps or overlaps—just clean stitching
Gorgeous and professional-grade quality.
Love how sharp the edges came out
The stitching is smooth and effortless.
Such a beautiful and inspiring collection.
Easy to use and looks fantastic
Even my old machine handled it well
Perfect size and beautiful flow of stitching.
Every part came out so clean
Clean, precise, and gorgeous every time.
Highly recommend this file to anyone
Downloaded smoothly and worked instantly
Exactly what I hoped for and more
Looks just like the photo
One of the best I’ve downloaded
Stitches out beautifully.
This design was perfect for a custom project.
This embroidery file worked perfectly on my fabric.
Good quality, but shipping was slow.
The stitching order made it easy
One of my new favorite designs
Loved the texture and finish.
So crisp and clean, even on tricky fabrics.
Super smooth transitions in the design.
Loved the result on a tote bag
Easy to scale and still maintains quality
Best embroidery file I’ve bought.
Quality is top-notch, very professional.
Perfectly digitized—so smooth and sharp
Amazing details, even on small stitches.
No excessive trims—great for efficiency.
Will definitely buy more designs from this seller.
Scaled beautifully for different projects.
Amazing quality, highly recommend.
Fantastic files that produced beautiful results every time.
I’ve already used it on multiple items and love it
Such a well-digitized file, ran beautifully!
Perfect design for Christmas gifts!
No issues at all, stitched perfectly.
Perfect stitch quality, no jump stitches!
Perfect for my business, they make everything look so professional!
Good files worked well with my Brother machine
A flawless embroidery pattern!
Absolutely loved the designs, they were perfect for my custom items.
Looks just as good in a small size!
Runs smoothly on my embroidery machine.
Perfect for making personalized gifts.
Love this design, perfect for my project.
Works well on different fabric types.
Perfect file, love it!
Wonderful quality, worth every cent.
Good files!
High quality and stitches out beautifully.
High quality and stitches out beautifully.
Beautifully digitized and easy to use.
Perfectly aligned, no adjustments needed.
A flawless file, works great every time.
This exceeded all my expectations, thank you!
Will buy more!
Good design easy to work with
Really good files, will buy some more
Perfect file, love it!
Beautifully digitized, perfect stitching.
Good design easy to work with
Good quality files
Amazing quality
Good files, will buy more
All worked perfectly!
Love it!
Files stitched our beautifully
Love this files
Best embroidery file I’ve used in a long time.
Such a smooth and professional stitch-out.
Perfect design
The embroidery was flawless, no thread breaks at all.
Files works perfect with my Husqvarna machine
Thank you works amazing
Thank you! Works perfect really suggest this toothers
Love to work with the files from this site – always works great!
Came out beautif!
I bought several files on this site all worked perfectly!
Perfect!
Will buy here again!
PES worked perfectly with my machine! Thank you!
Great files- easy to work with!
Worked great with my Brother Embroidery machine