Additional information
| Embroidery design size | All sizes together, 3.5" ( 8.89 cm ), 4" ( 10.16 cm ), 4.5" ( 11.43 cm ), 5" ( 12.7cm ), 5.5" ( 13.97 cm ), 6" ( 15.24 cm ), 6.5" (16.51 cm ), 7" ( 17.78 cm ) |
|---|

USD 3.50 – USD 25.00
8 SIZES: 3.5″, 4.0″, 4.5″ 5.0″, 5.5″, 6.0″, 6.5″, 7.0″,
File types: CSD | DST | EXP | HUS | PES | SHV | VIP | XXX
SELECT DESIGN WIDTH
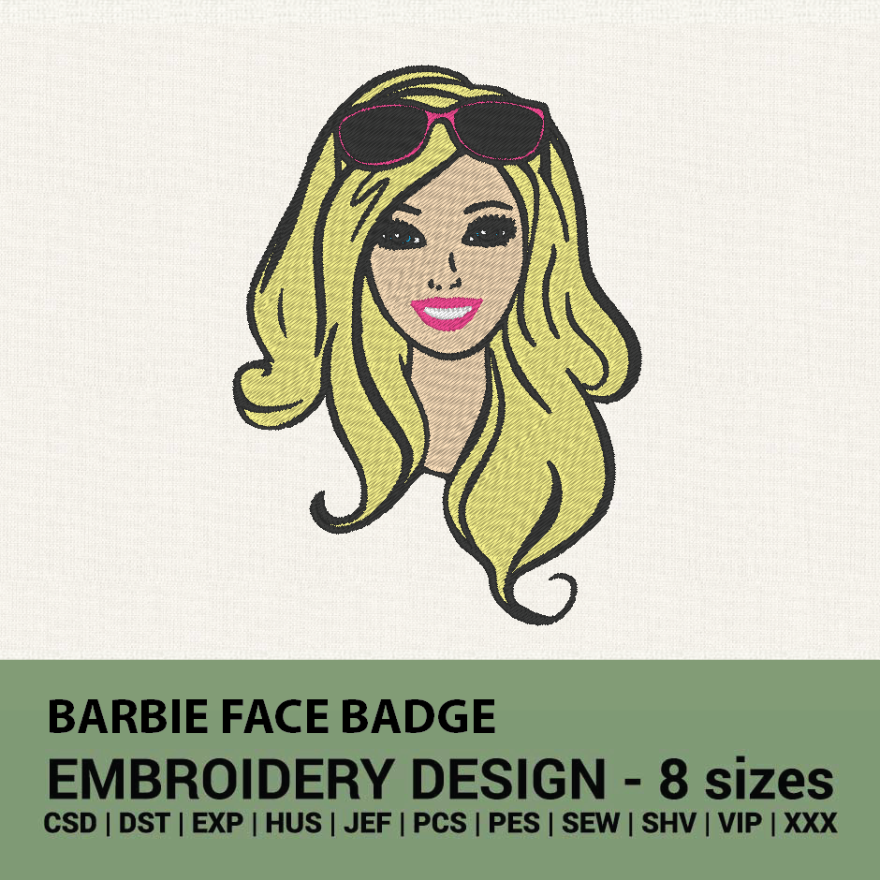
Embroidering a Barbie face badge embroidery design requires careful attention to detail to capture the delicate and recognizable features. Here are some tips to help you achieve a high-quality embroidery:
By following these tips, you can create a beautifully detailed Barbie face badge embroidery design that captures the iconic look of the character.
Gabriella 2025-06-02 04:00:37
Kinsley 2025-05-28 03:01:50
Valentina 2025-05-25 09:55:56
Brooke 2025-05-25 09:45:31
Eva 2025-05-22 20:51:31
Chiara 2025-05-22 06:43:39
Solveig 2025-05-21 14:43:46
Nova 2025-05-20 08:38:27
Irina 2025-05-20 07:52:58
Brielle 2025-05-19 16:11:41
Audrey 2025-05-16 10:34:57
Simona 2025-05-14 01:15:49
Agnieszka 2025-05-10 21:57:43
Ewa 2025-05-10 15:22:05
Reese 2025-05-07 09:27:36
Tereza 2025-05-04 22:43:05
Naomi 2025-05-04 14:17:59
Madelyn 2025-05-04 07:53:13
Madelyn 2025-05-04 07:53:13
Stella 2025-05-03 13:25:41
Emily 2025-05-03 09:19:41
Elena 2025-05-01 17:01:07
Abigail 2025-05-01 04:07:03
Harper 2025-04-30 01:09:28
Skylar 2025-04-19 12:40:28
Sarah 2025-04-18 22:54:25
Amelia 2025-04-18 18:28:31
Madison 2025-04-18 11:00:53
Josephine 2025-04-17 11:15:43
Ariana 2025-04-17 04:29:32
Samantha 2025-04-16 19:36:51
Faith 2025-04-16 11:36:36
Faith 2025-04-16 04:34:05
Abigail 2025-04-13 17:29:06
Katarina 2025-04-11 22:16:00
Evelyn 2025-04-10 18:48:06
Emilia 2025-04-10 13:37:02
Milena 2025-04-10 06:27:01
Thea 2025-04-09 18:02:10
Olivia 2025-04-09 07:56:21
Lenka 2025-04-08 16:23:00
Giulia 2025-04-07 21:04:50
Leonie 2025-04-07 05:57:55
Tilda 2025-04-07 00:23:53
Claire 2025-04-06 00:07:31
Helena 2025-04-05 17:57:53
Camila 2025-04-05 16:00:12
Sophia 2025-04-05 04:10:32
Elvira 2025-04-03 00:49:51
Viktoria 2025-04-02 08:28:35
Sabine 2025-04-02 06:27:19
Brigita 2025-04-02 05:35:46
Aurora 2025-04-02 04:00:25
Skylar 2025-04-02 01:33:41
Audrey 2025-04-01 14:49:31
Ksenia 2025-03-31 11:18:15
Isabella 2025-03-30 18:19:46
Evelyn 2025-03-30 18:04:55
Natalie 2025-03-30 17:52:03
David Brown 2025-03-30 16:29:22
Andrea 2025-03-30 09:09:03
Violet 2025-03-29 23:53:36
Allison 2025-03-24 22:04:27
Kaylee 2025-03-24 19:44:02
Alice 2025-03-20 21:03:38
Faith 2025-03-17 05:40:58
Faith 2025-03-17 05:40:58
Layla 2025-03-16 18:43:46
Natalia 2025-03-11 14:37:35
Paisley 2025-02-23 08:00:00
Cora 2025-02-21 14:00:00
Tessa 2025-02-21 08:00:00
Peyton 2025-02-14 22:08:23
Genesis 2025-02-05 21:56:41
Genesis 2025-02-05 21:56:41
Ophelia 2025-02-04 19:00:00
Paisley 2025-01-31 06:00:00
Kayla 2025-01-30 05:00:00
Maria 2025-01-25 05:00:00
Roberta 2025-01-24 04:00:00
Hazel 2025-01-24 02:00:00
Hana 2025-01-21 02:00:00
Mariana 2025-01-21 01:00:00
Eliana 2025-01-16 00:00:00
Katia 2025-01-09 14:00:00
Sophie 2025-01-05 01:00:00
Kayla 2025-01-02 09:00:00
Ava 2025-01-01 15:00:00
Liam 2024-12-25 19:00:00
Cora 2024-12-22 10:00:00
Hazel 2024-12-13 13:00:00
Eleanor 2024-12-01 08:00:00
Eva 2024-11-21 02:36:04
Carina 2024-11-10 19:00:00
Brianna 2024-11-06 05:00:00
Grace 2024-11-04 02:00:00
Taylor 2024-11-03 01:00:00
Genesis 2024-10-28 02:09:06
Mackenzie 2024-10-16 19:53:00
Sophia 2024-10-12 06:18:18
| Embroidery design size | All sizes together, 3.5" ( 8.89 cm ), 4" ( 10.16 cm ), 4.5" ( 11.43 cm ), 5" ( 12.7cm ), 5.5" ( 13.97 cm ), 6" ( 15.24 cm ), 6.5" (16.51 cm ), 7" ( 17.78 cm ) |
|---|

I used to buy the files from different stores, but here files are really well-made and easy to use. All sizes and color schemes are attached to the machine embroidery designs I bought. Very satisfied with my purchase, will definitely buy here again!
- Annie Lawrence
