Description
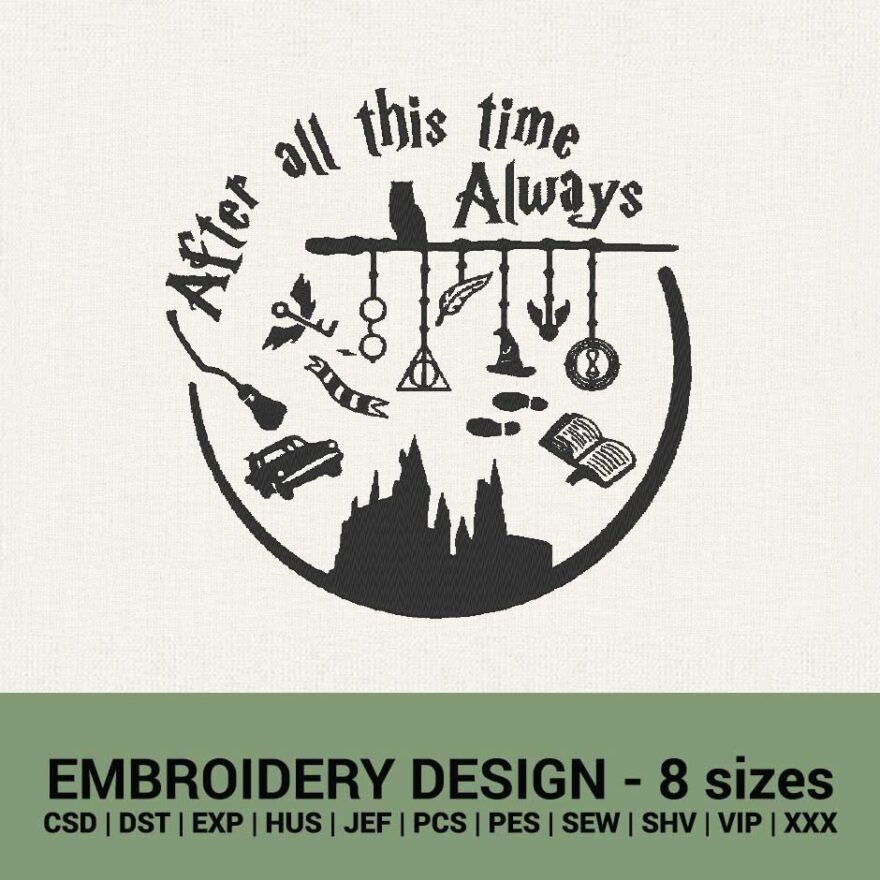
After all this time machine embroidery design
- It’s an instant download – the file will be ready to download after purchase.
- It’s a filled stitch design with some silky-stitch cards
- You will get a ZIP archive with all files and a color sheet
Some useful tips to have amazing results After all this time machine embroidery design
Absolutely! Achieving amazing results in machine embroidery requires attention to detail, patience, and a good understanding of the craft. Here are some tips specifically tailored for ensuring excellent outcomes with the After All This Time machine embroidery design:
- High-Quality Design File:
- Begin with a high-quality After All This Time machine embroidery design. The resolution and clarity of the design will significantly impact the final result. Ensure that the design is well-digitized and suitable for the size of your project.
- Select the Right Fabric:
- Choose a fabric that complements the After All This Time machine embroidery design. Consider factors such as fabric weight, texture, and color to enhance the overall appearance of the embroidery.
- Stabilize Properly:
- Use the appropriate stabilizer for your fabric to prevent puckering and distortion during the embroidery process. Experiment with different stabilizers to find the one that works best for your specific project and fabric type.
- Thread Selection:
- Select high-quality embroidery threads that match the colors of the After All This Time machine embroidery design. Consider using thread colors that provide contrast and highlight different elements of the design.
- Test Stitching:
- Always conduct a test stitch-out of the After All This Time machine embroidery design on a similar piece of fabric before embroidering the final project. This allows you to check thread tension, and color accuracy, and make any necessary adjustments before committing to the actual piece.
- Machine Settings:
- Adjust your machine settings, including tension, stitch length, and speed, according to the requirements of the After All This Time machine embroidery design and fabric. Ensure that your machine is properly calibrated to achieve precise and consistent stitches.
- Hooping Technique:
- Proper hooping is essential for maintaining fabric stability and alignment during embroidery After All This Time machine embroidery design. Take care to hoop the fabric evenly and securely to prevent shifting or distortion.
- Trimming and Finishing:
- Trim excess threads carefully between color changes and after completing the embroidery. Pay attention to detail during the finishing process to ensure clean and professional-looking results.
- Machine Maintenance:
- Keep your embroidery machine well-maintained by regularly cleaning and oiling it as per the manufacturer’s instructions. A well-maintained machine operates smoothly and produces better-quality embroidery.
- Practice and Patience:
- Machine embroidery is a skill that improves with practice and patience. Don’t get discouraged by initial challenges or mistakes. Instead, embrace them as opportunities to learn and refine your technique.
By following these tips and practicing regularly, you can achieve amazing results with your “After all this time” machine embroidery After All This Time machine embroidery design, creating beautiful and unique pieces that showcase your creativity and skill.


